How to Fix Cracked Frame Corners
Corner joint issues can be a result of changes in humidity or temperature over time — the frame can contract and expand so many times that it loosens things up — but they’re also just a normal sign of wear and tear. Luckily, most times, it’s an easy fix. And, if you’re feeling confident, it’s something you can do from home.
Is your frame suffering from loose corner joints? We’re here to help!
We’ve put together step-by-step instructions using materials you probably already have lying around the house. This is a quick fix which will work on any sized frame.
This technique works best for frames that aren’t overly dry and have cracked but not broken corners. Obviously, if the frame is extremely valuable to you, save yourself some stress and take it into your local framing store and hand it over to the professionals.

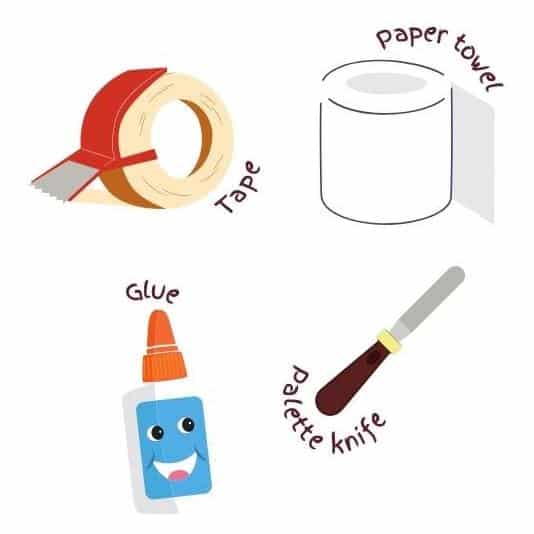
You'll need:
- Masking or painter’s tape
- Palette knife (or a piece of thin cardboard)
- White Elmer’s or carpenter’s glue
- Roll of paper towel
The fix:
1. First, if you haven’t already, remove the photo or artwork from the frame and lie it flat on a safe, dry surface. Check out our other blog post on how to store your unframed art if you’re going to be keeping it out of the frame for more than a day or two.
2. If your frame is assembled using nails, hammer them in gently to make the frame corner joints tighter.
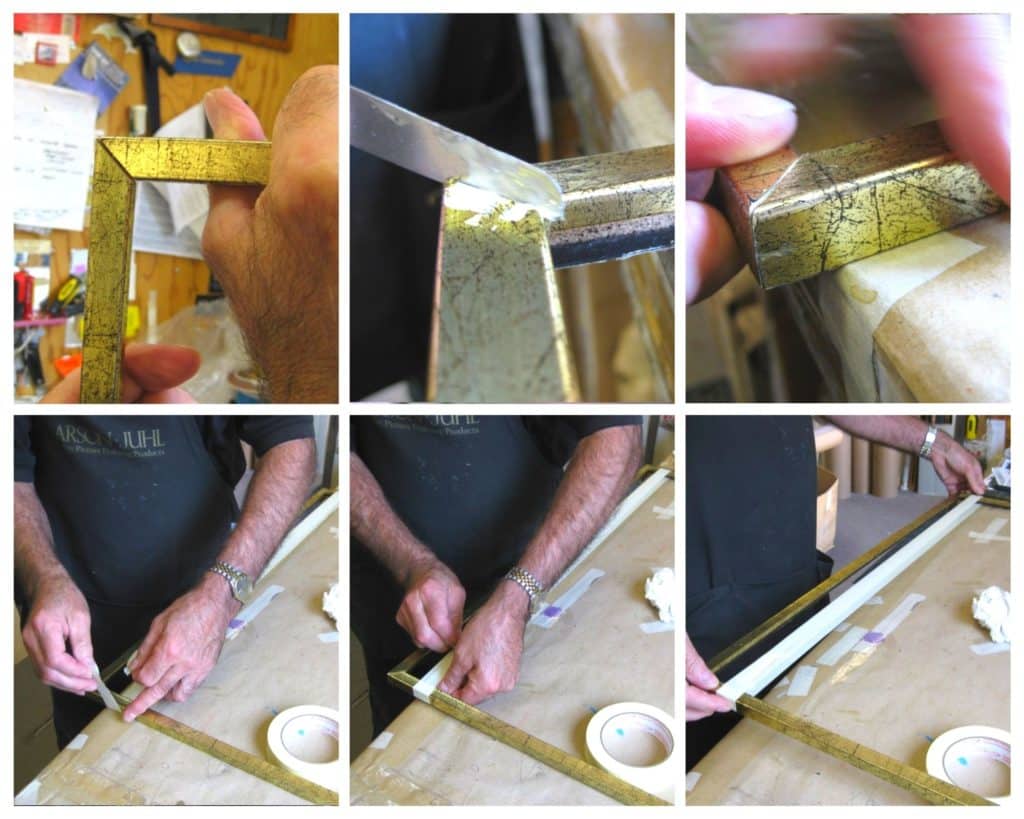
3. Apply some glue into the corner joint. We find it easiest to pour some glue on a piece of scrap paper and then apply a bit of the glue at a time to the corner joint using the palette knife. The palette knife really comes in handy here to push the glue all the way into the joint. If you don’t have a palette knife handy, use a strip of thin cardboard or a piece of plastic cut from something in your recycling.

Process of fixing loose corner joints
4. Squeeze together the corner joint and wipe away any excess glue with a square of paper towel. Try to get as little excess glue on the rest of the frame as possible, but it’s bound to happen so just wipe it up with paper towel before it has a chance to dry
5. You want to maintain constant and even pressure on the corner joint as the glue dries, so instead of holding it, bind one side of the frame to the other—the tension should hold the joints tight. Make sure the sticky side of the tape is facing outwards to prevent any of your frame’s finish from being removed.
6. Let the frame rest overnight to ensure the glue really does its job. In the morning, carefully remove the masking tape from the frame and check the glue is fully dry before reinstalling your artwork or photo.
Your frame should be solid and ready to use! But if the adhesive didn’t fix your problem or the corner joint becomes loose again, take your frame into a professional framer to be fixed.


